- Published on
- // 5 min read
Building a screensaver for your video calls with open source
- Authors
- Name
- Shane Boulden
- @shaneboulden


I like to leave my video on when in a work video call. Frequently though, I may need to stop the video temporarily - maybe there's a cat who has wandered into the office, or a small child come to tell me that the cat has wandered into the office. How do you disable the video, yet still let people know that it's only temporary?
My answer - the video call screensaver! Take a look at it in-action here.
I'm going to use OBS Studio to pull together this effect. OBS Studio, or just OBS, is an open source streaming and recording platform. I use it to record videos, and use it in all my video calls. OBS will allow us to swap between different "scenes" and show the screensaver on-demand.
Let's get started!
OBS installation and initial configuration
Firstly you'll need to install OBS. You can find a link to the downloads page here: https://obsproject.com/download
I'm on Fedora, so I first need to enable RPMFusion. You can do this using dnf:
sudo dnf install -y \
  https://download1.rpmfusion.org/free/fedora/rpmfusion-free-release-$(rpm -E %fedora).noarch.rpm
Then it's just a case of installing obs-studio:
sudo dnf install -y obs-studio
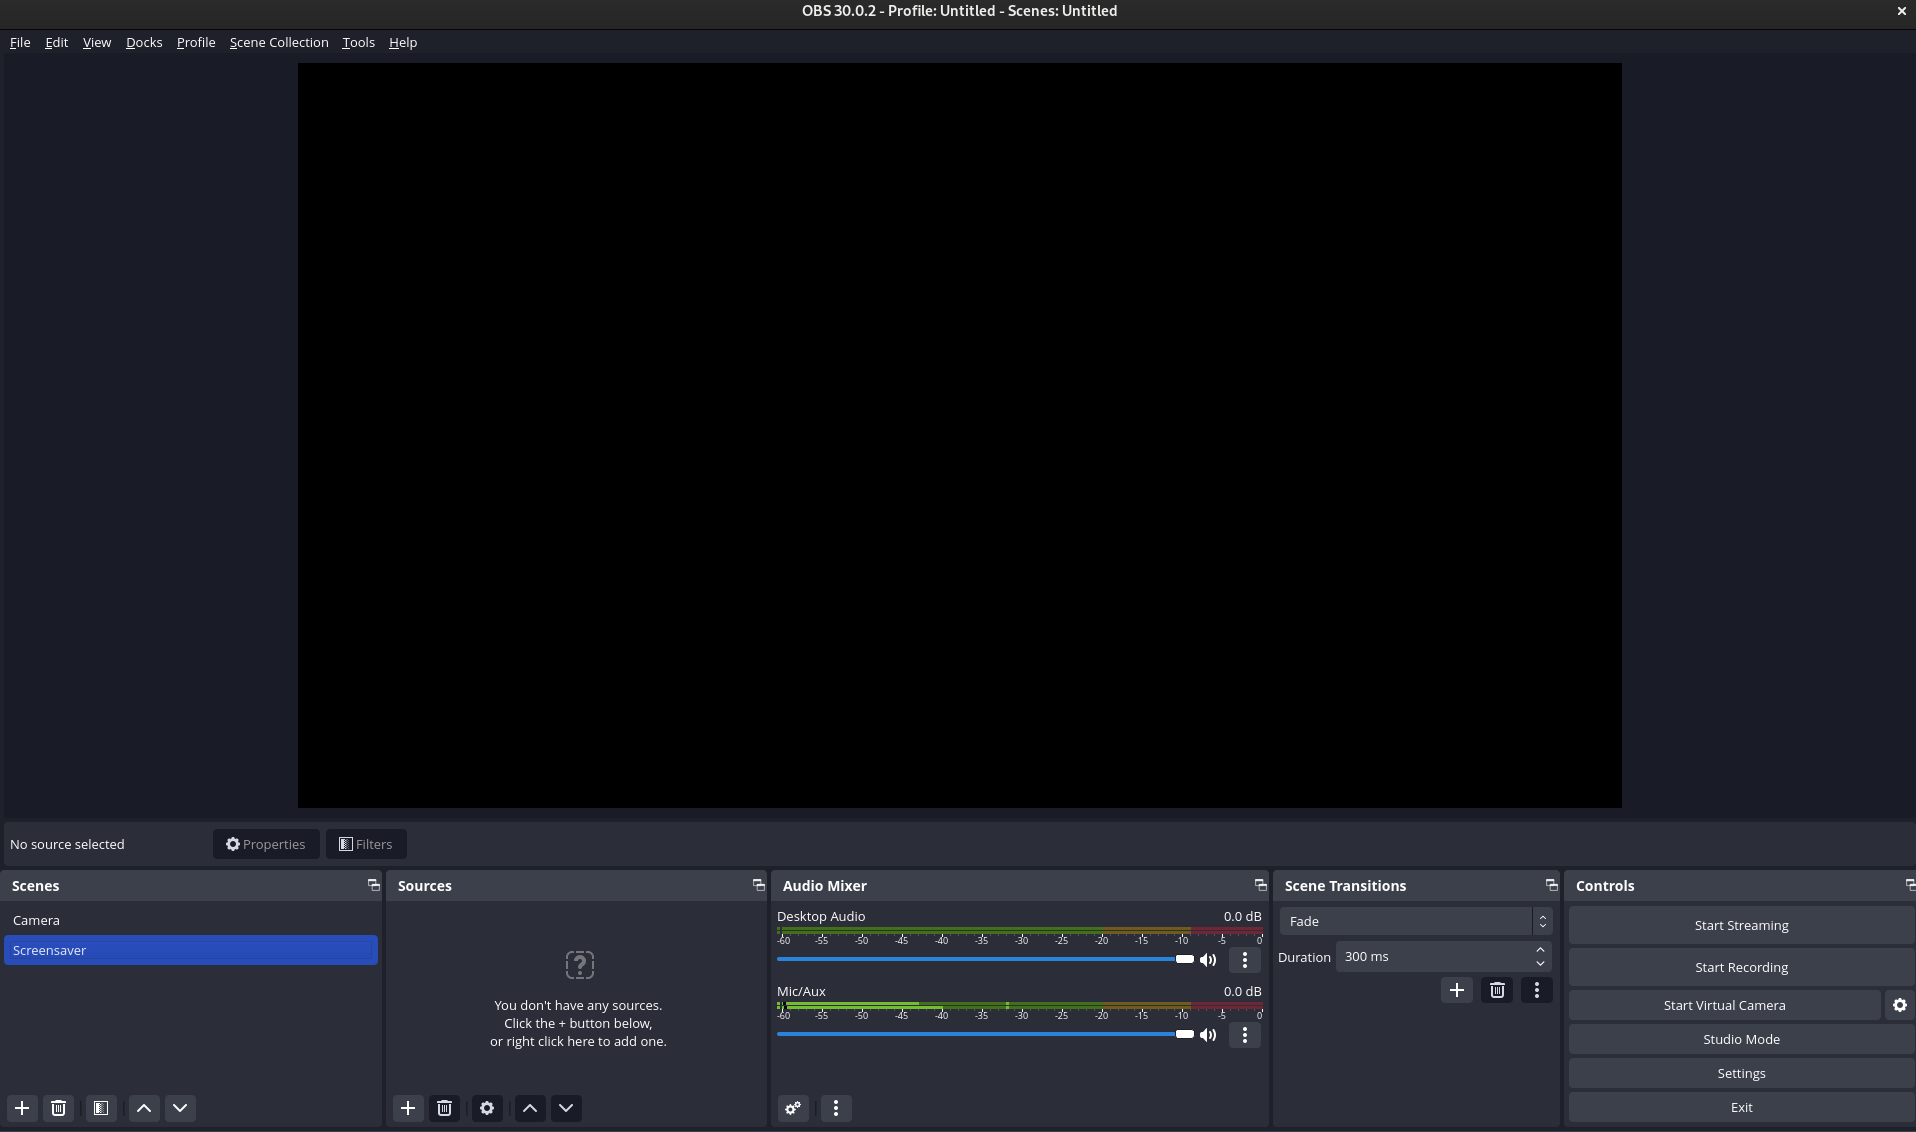
Once you have OBS installed you'll see a page like this:

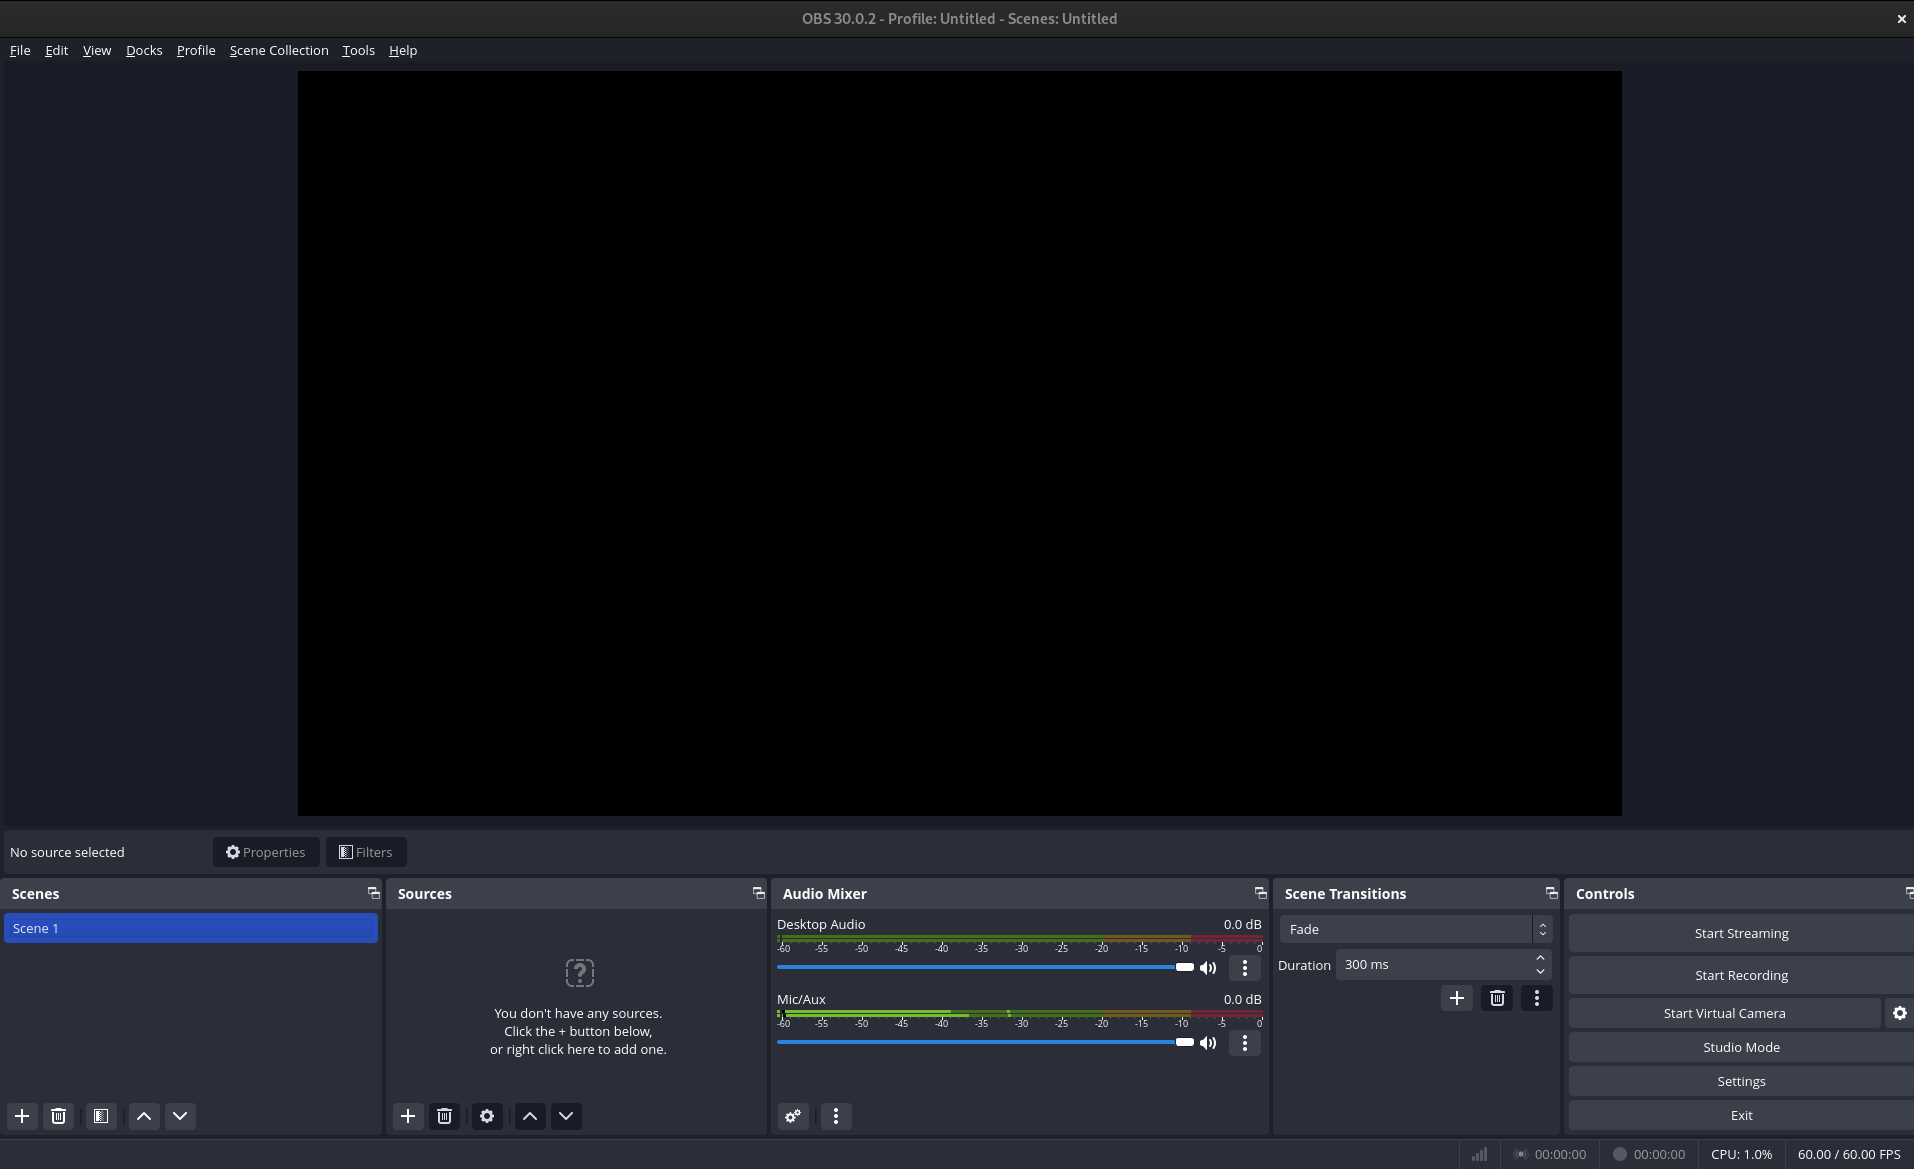
Let's create our first scene. This is going to be the camera that we use when the 'screensaver' is not enabled.
Hit the + under scenes to create a new scene, and name this 'Camera'. Under 'sources' select the + and select Video Capture.
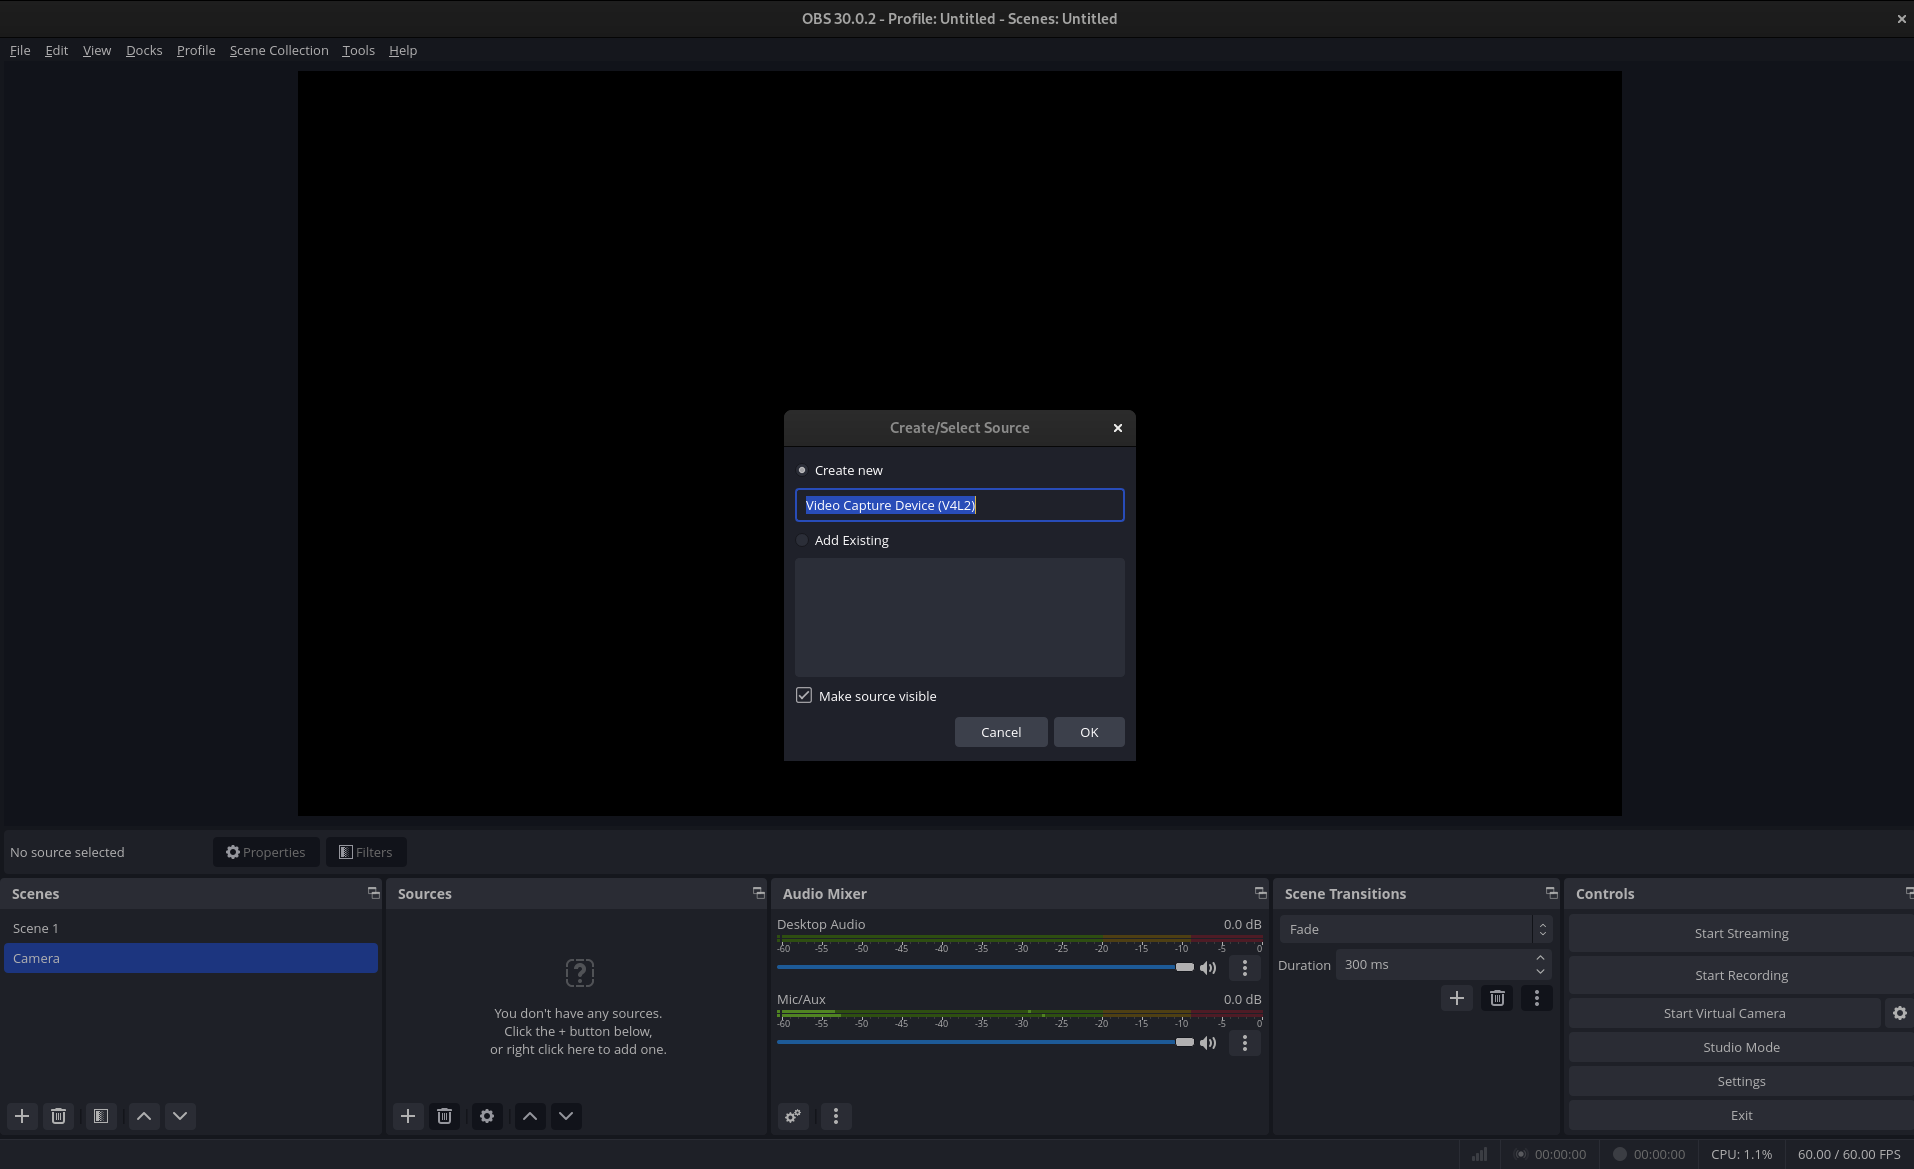
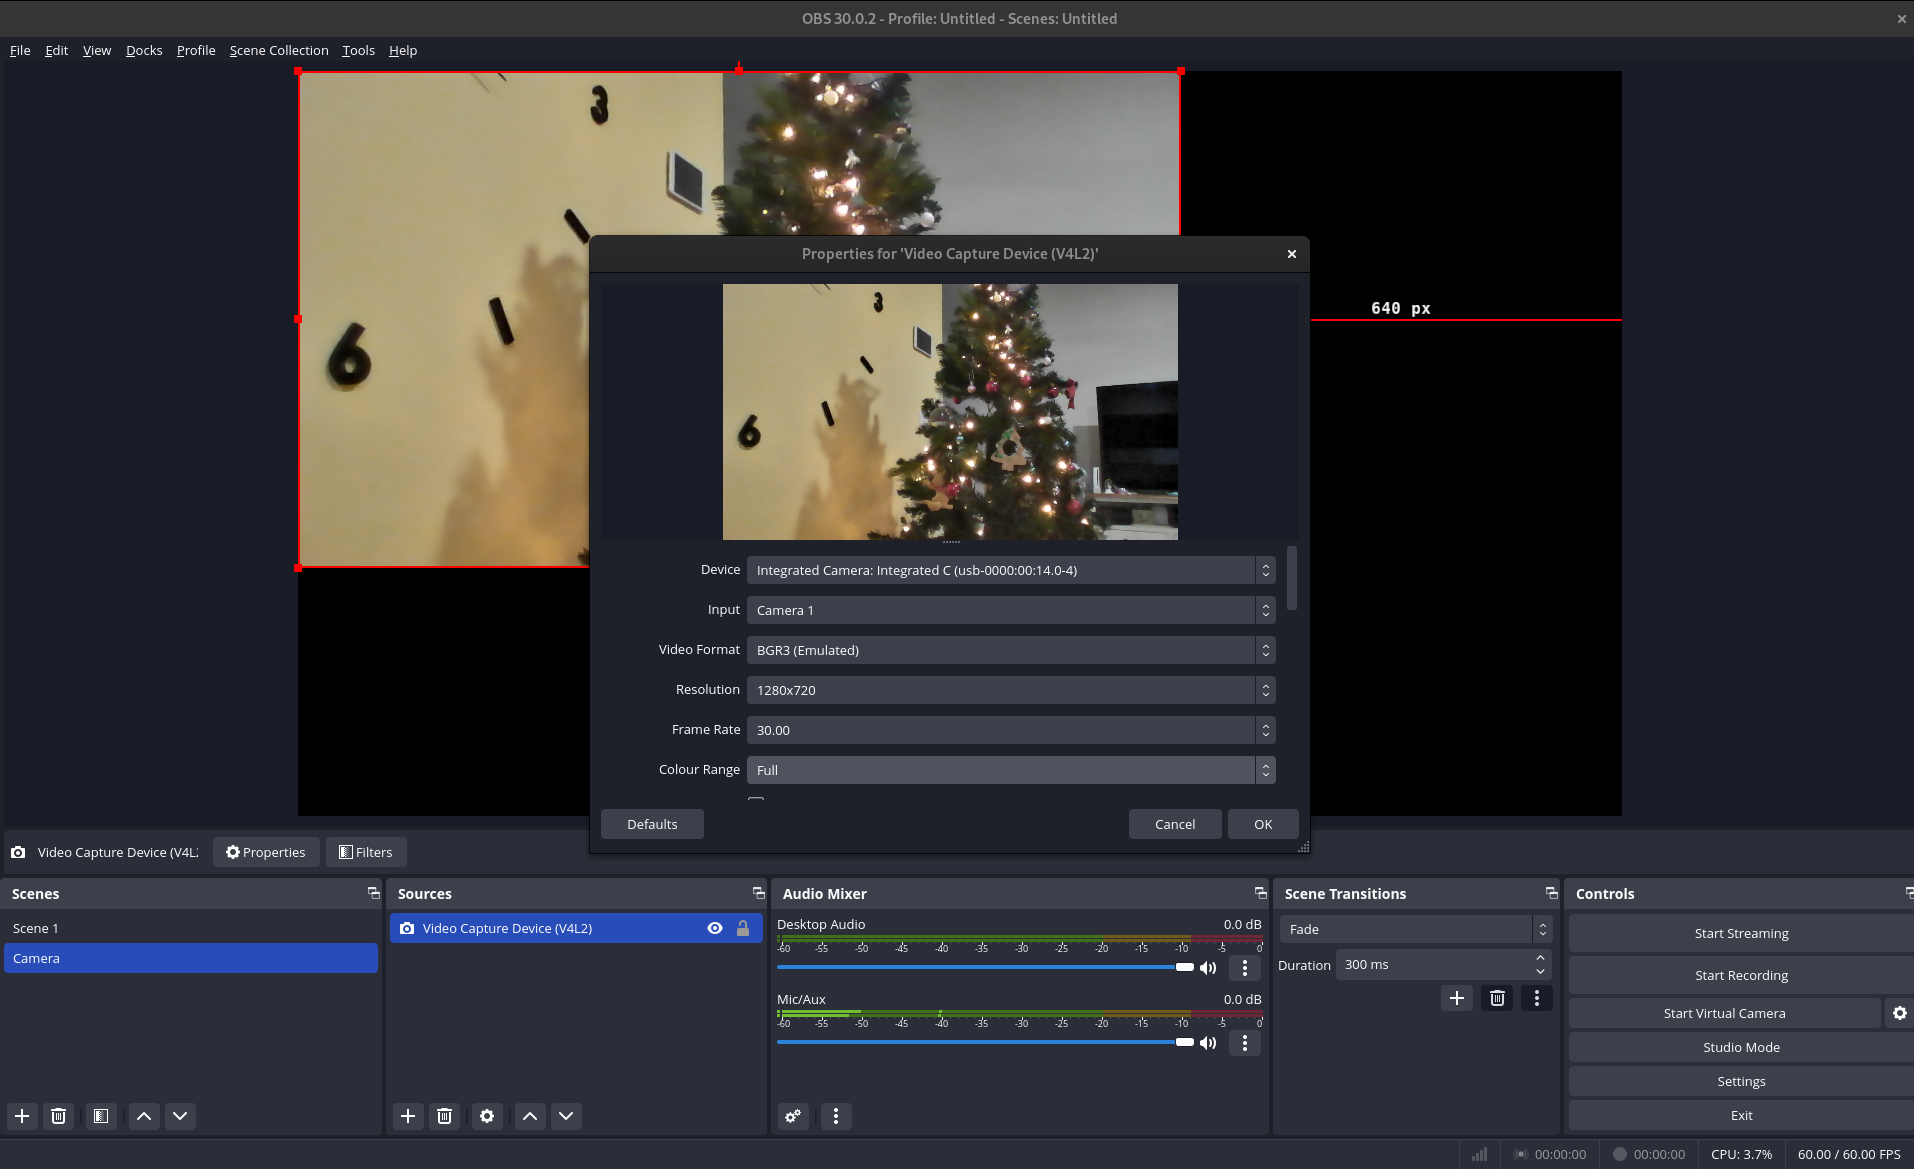
Select the device that you'd like to use and change the resolution to the highest setting, and the frame rate to the setting that you'd like to use.
Creating a bouncing logo website
To create the scenesaver effect we're going to create a website showing a bouncing logo, and then create this as a source within OBS.
Fork the repo hosted at https://github.com/shaneboulden/bouncing_logo and clone your fork:
git clone git@github.com:username/bouncing_logo.git
Once you're in the repo you'll see a directory assets containing a file logo.png:
├── assets
│   └── logo.png
├── index.html
├── p5.js
├── README.md
└── sketch.js
Swap the logo out for the file that you'd like to use in the screensaver. Once complete, you can test out your changes using a simple python HTTP server:
$ python3 -m http.server
If everything works, you should be able to navigate to http://localhost:8000 and see a page like this.
At this point you may need to resize the logo. You can find the size in the sketch.js file:
...
function setup() {
  // this creates the initial window and loads the image
  createCanvas(window.innerWidth, window.innerHeight);

  logo.resize(194, 125);
}
...
Commit and push your changes up to your fork.
Create a Github Pages site
We're going to use Github Pages to host this site, and Github Actions to build it. Navigate to your Github project Settings and select Pages from the left-hand menu.
From the Source drop-down select Github Actions.

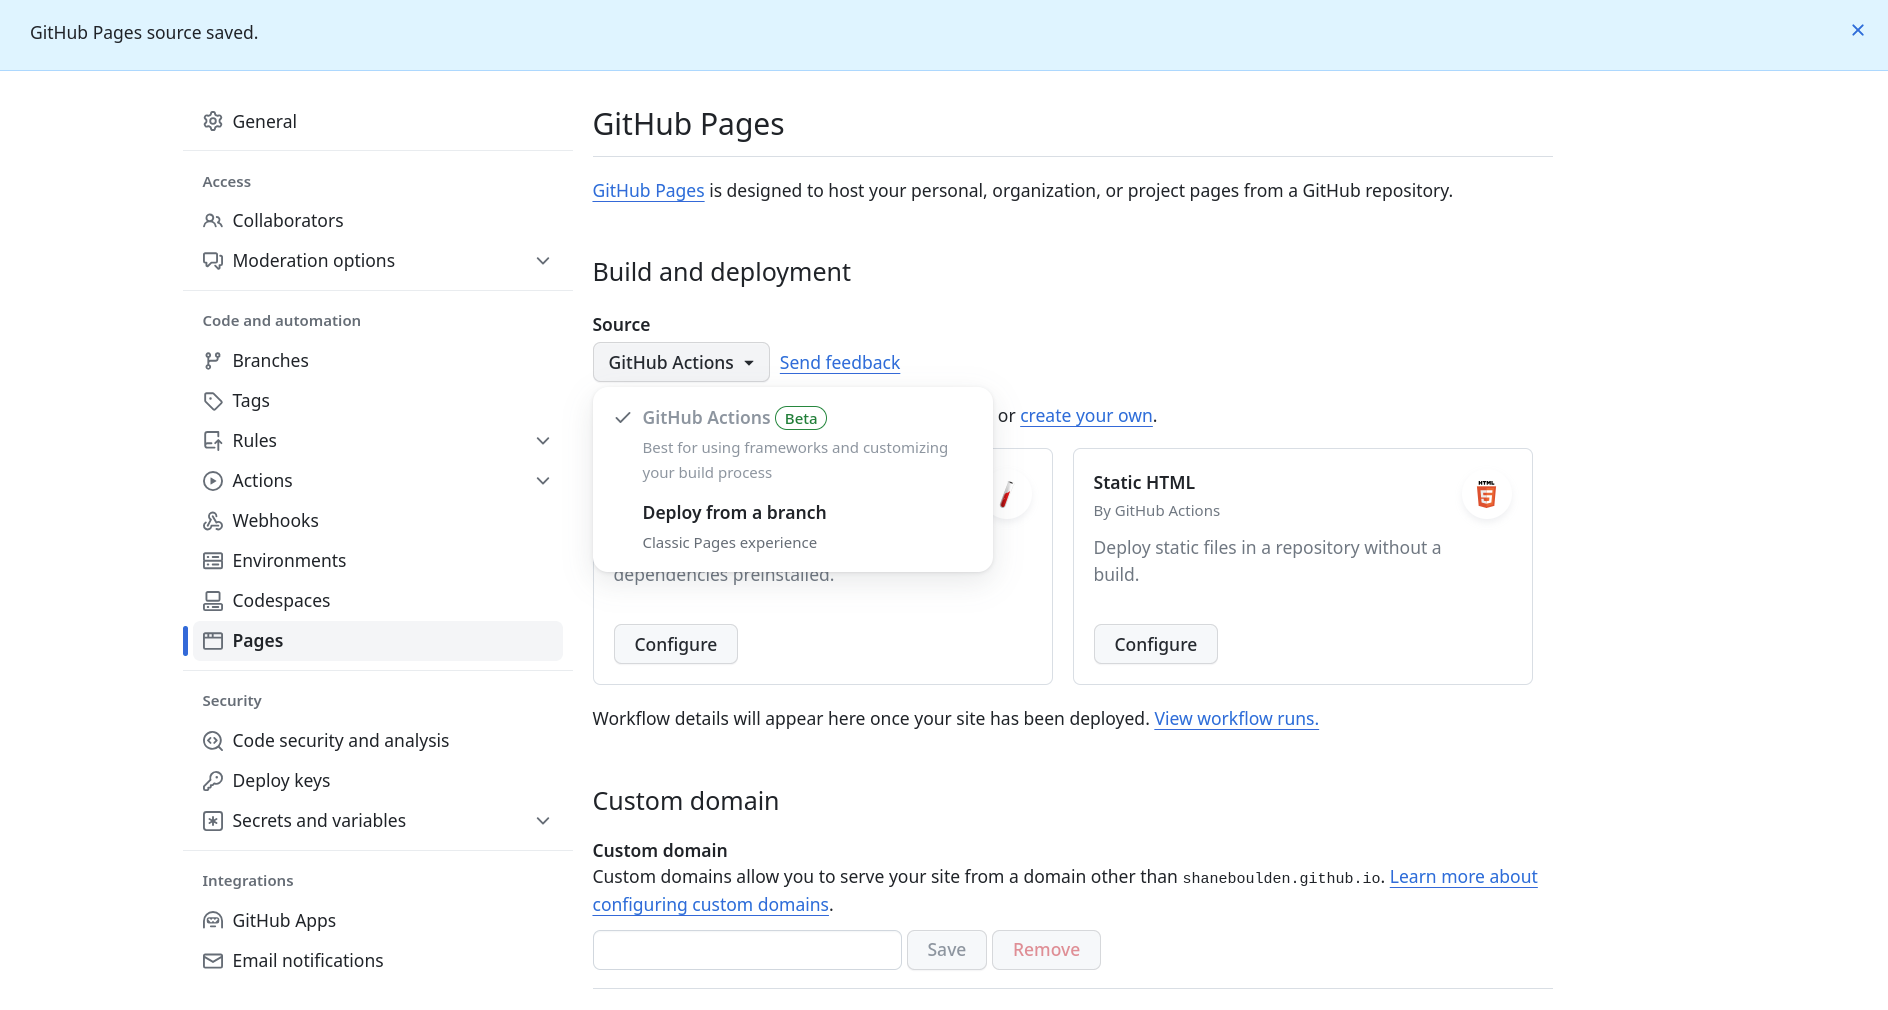
Select the Configure button under Static HTML in the image above, and you'll be shown an editor with a basic Github Actions workflow to publish our page.
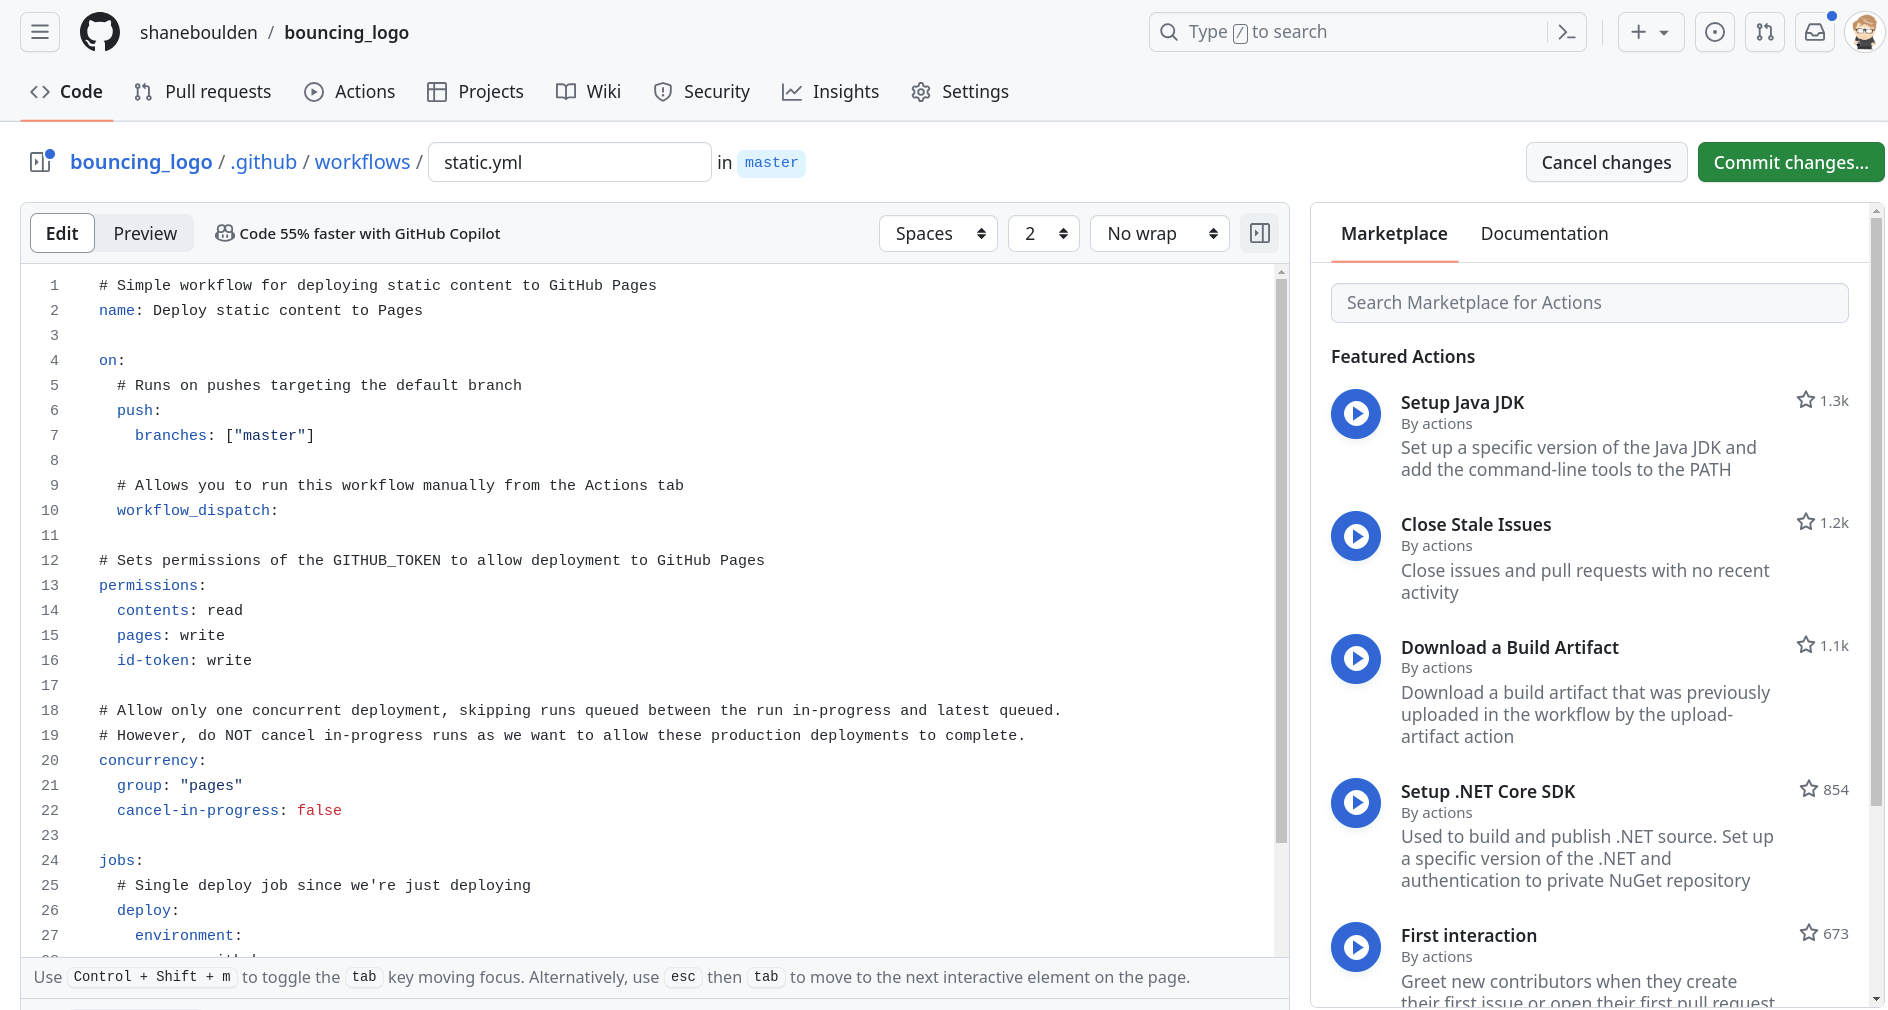
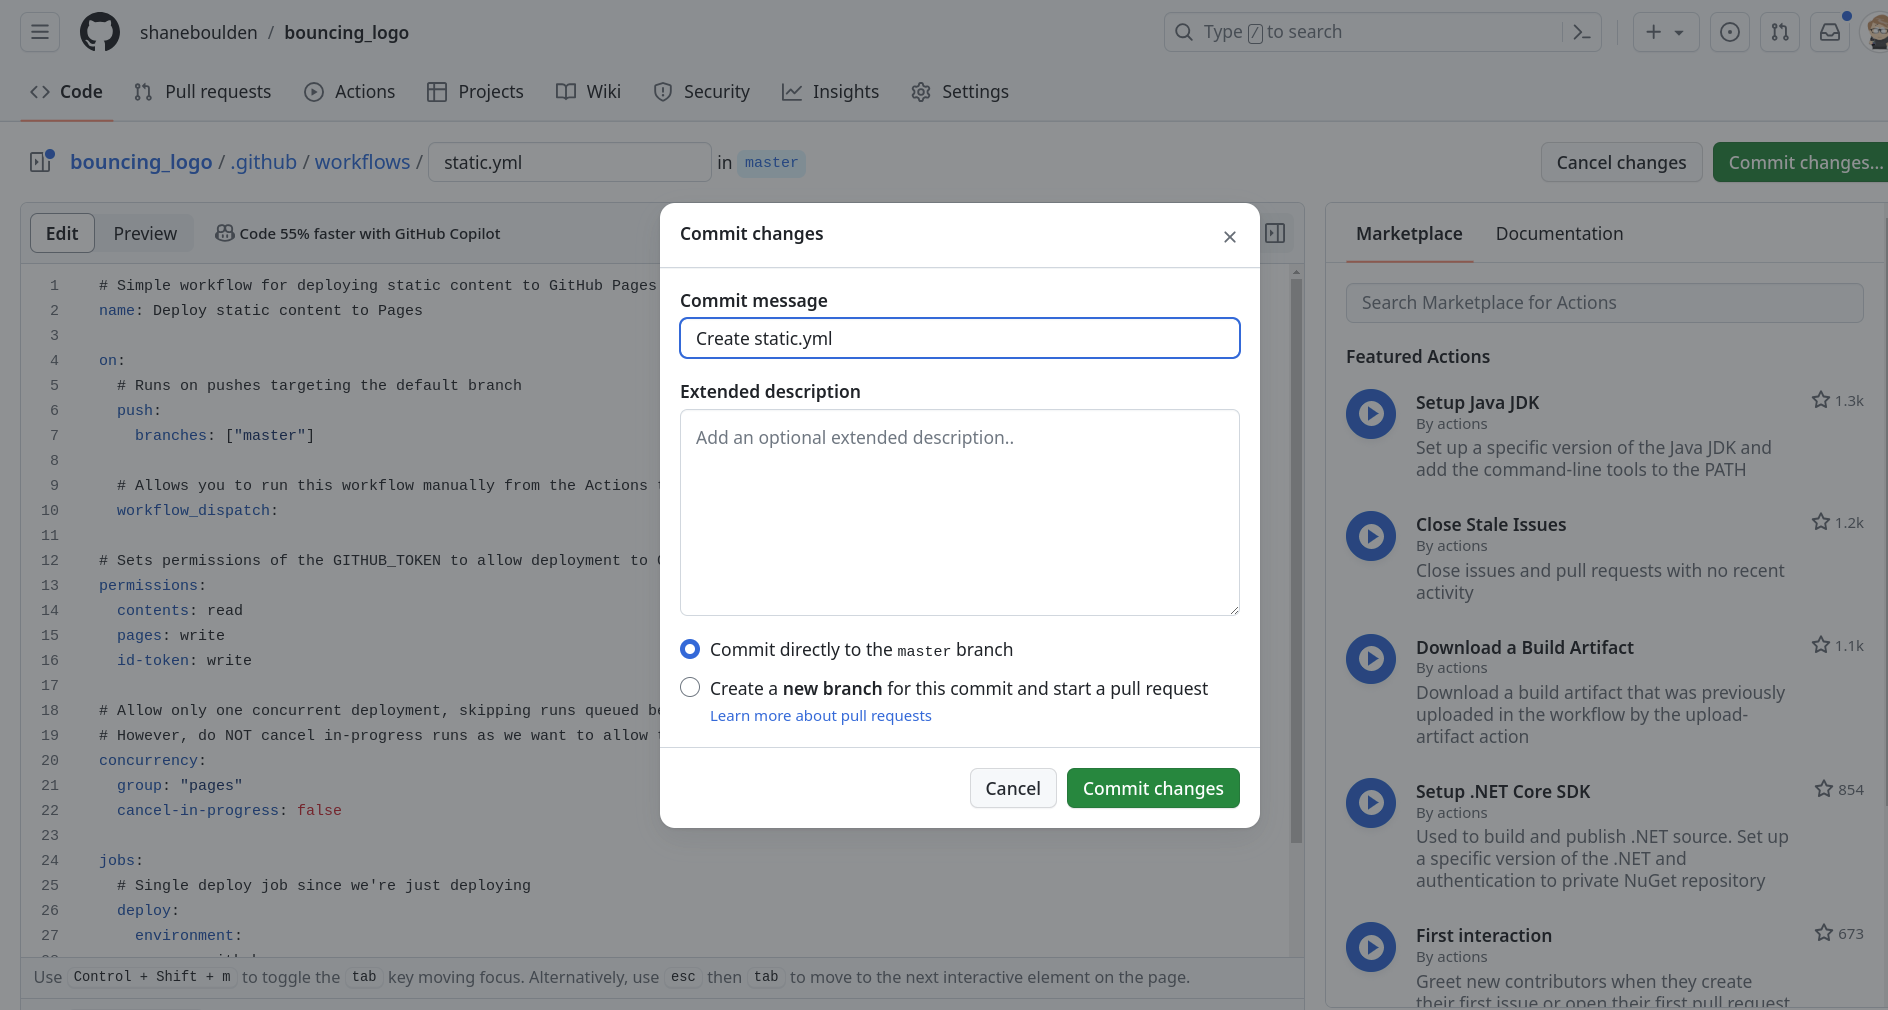
There's no changes we need to make at this point. Simply select Commit changes to commit this file into the repo.
If you navigate to Actions on the top menu bar you should now be able to see the Github Actions task running.
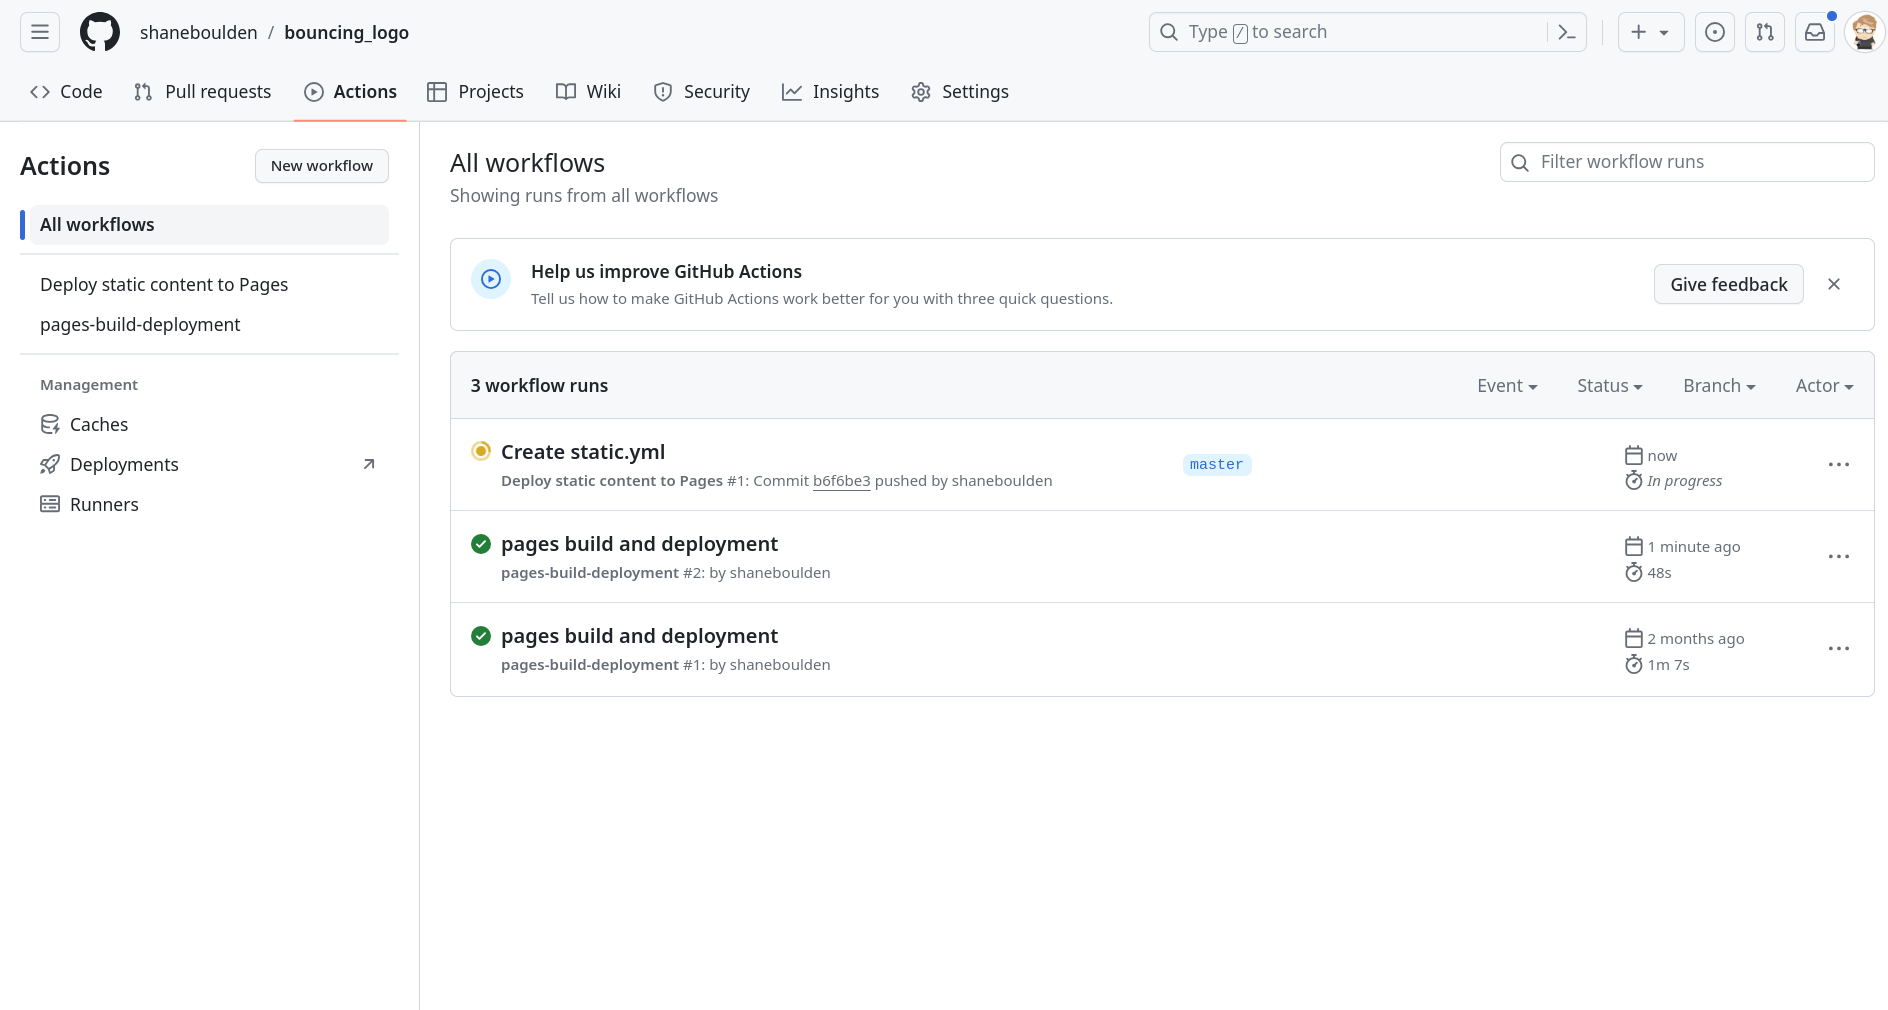
Once the task completes, the site should now be live at https://username.github.io/bouncing_logo
Create an OBS Scene for the screensaver
Now that we have a website hosting the bouncing logo we can create an OBS Scene. Navigate back to OBS and create a new Scene called Screensaver.

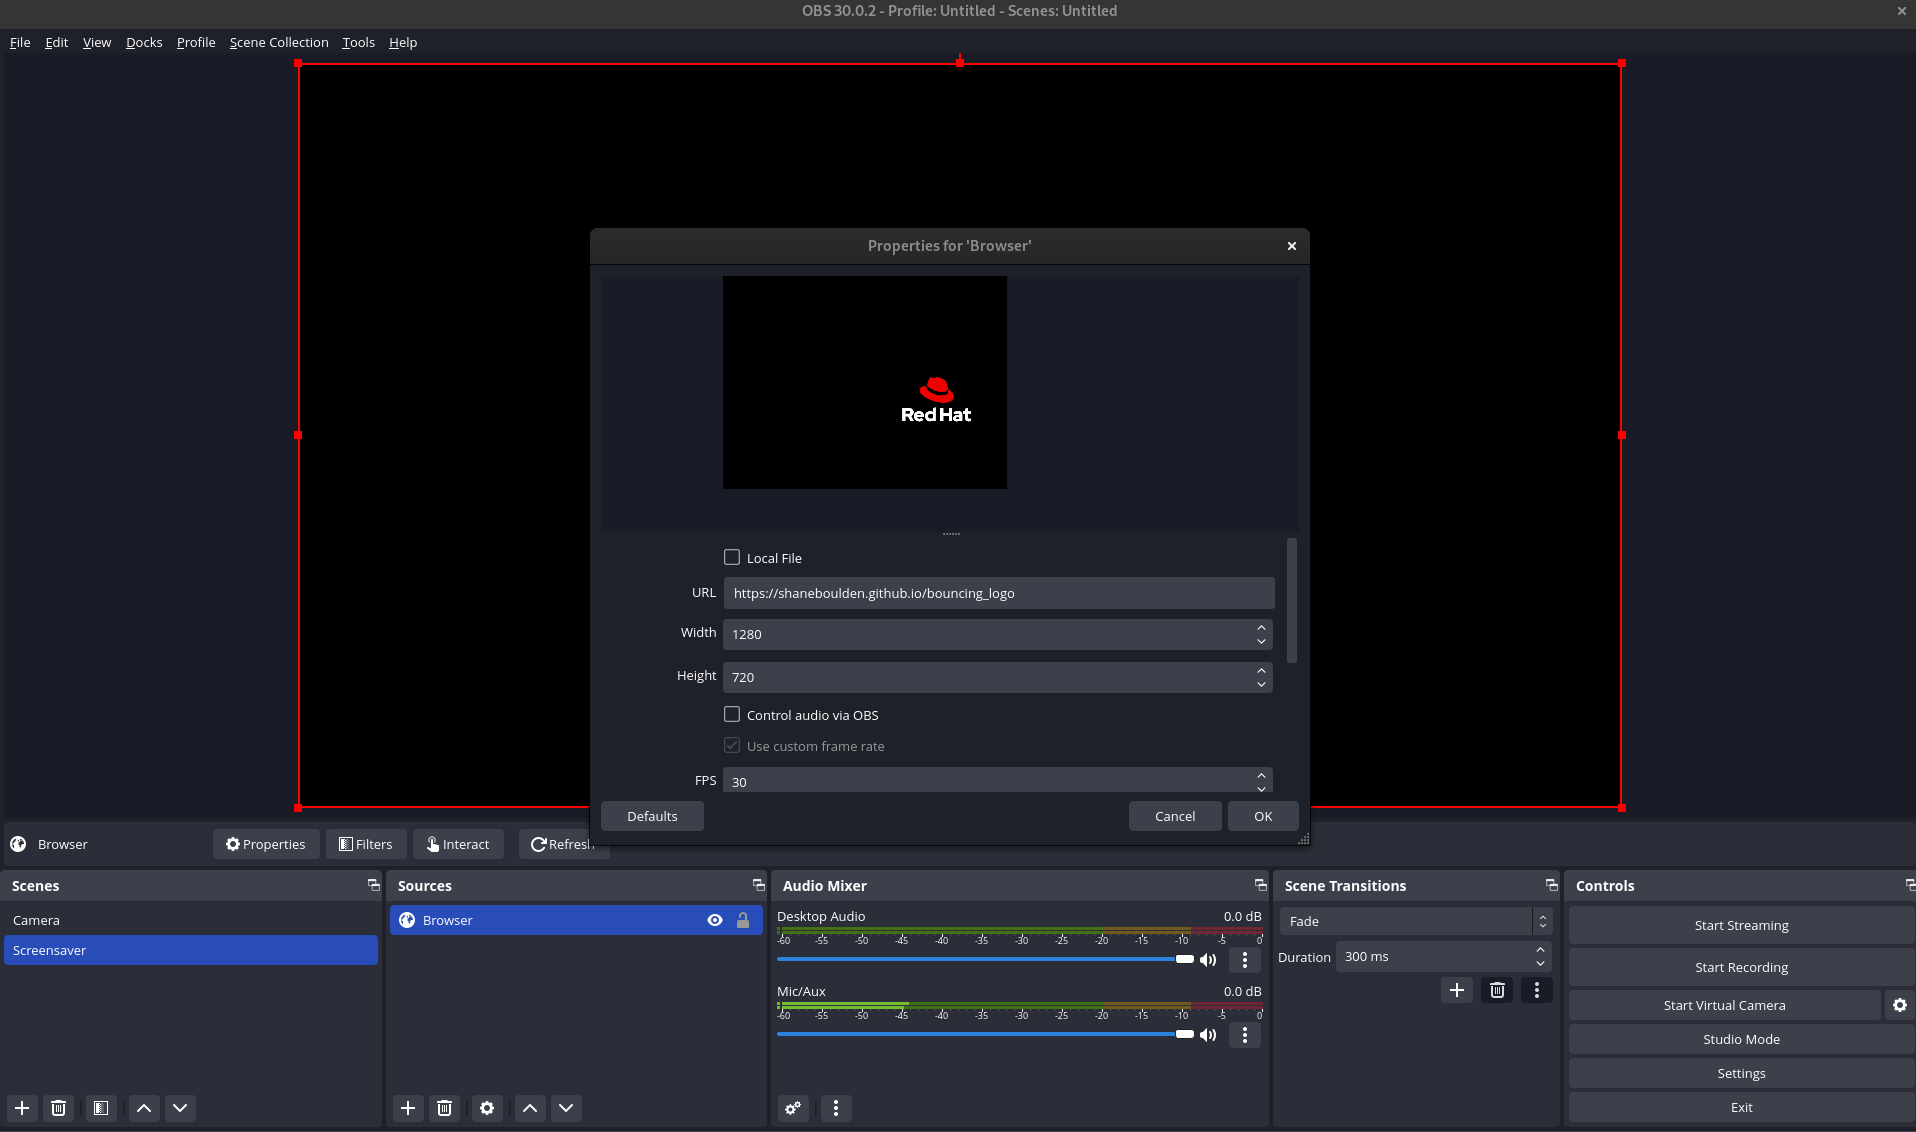
Select the + under Sources and create a new Browser source.
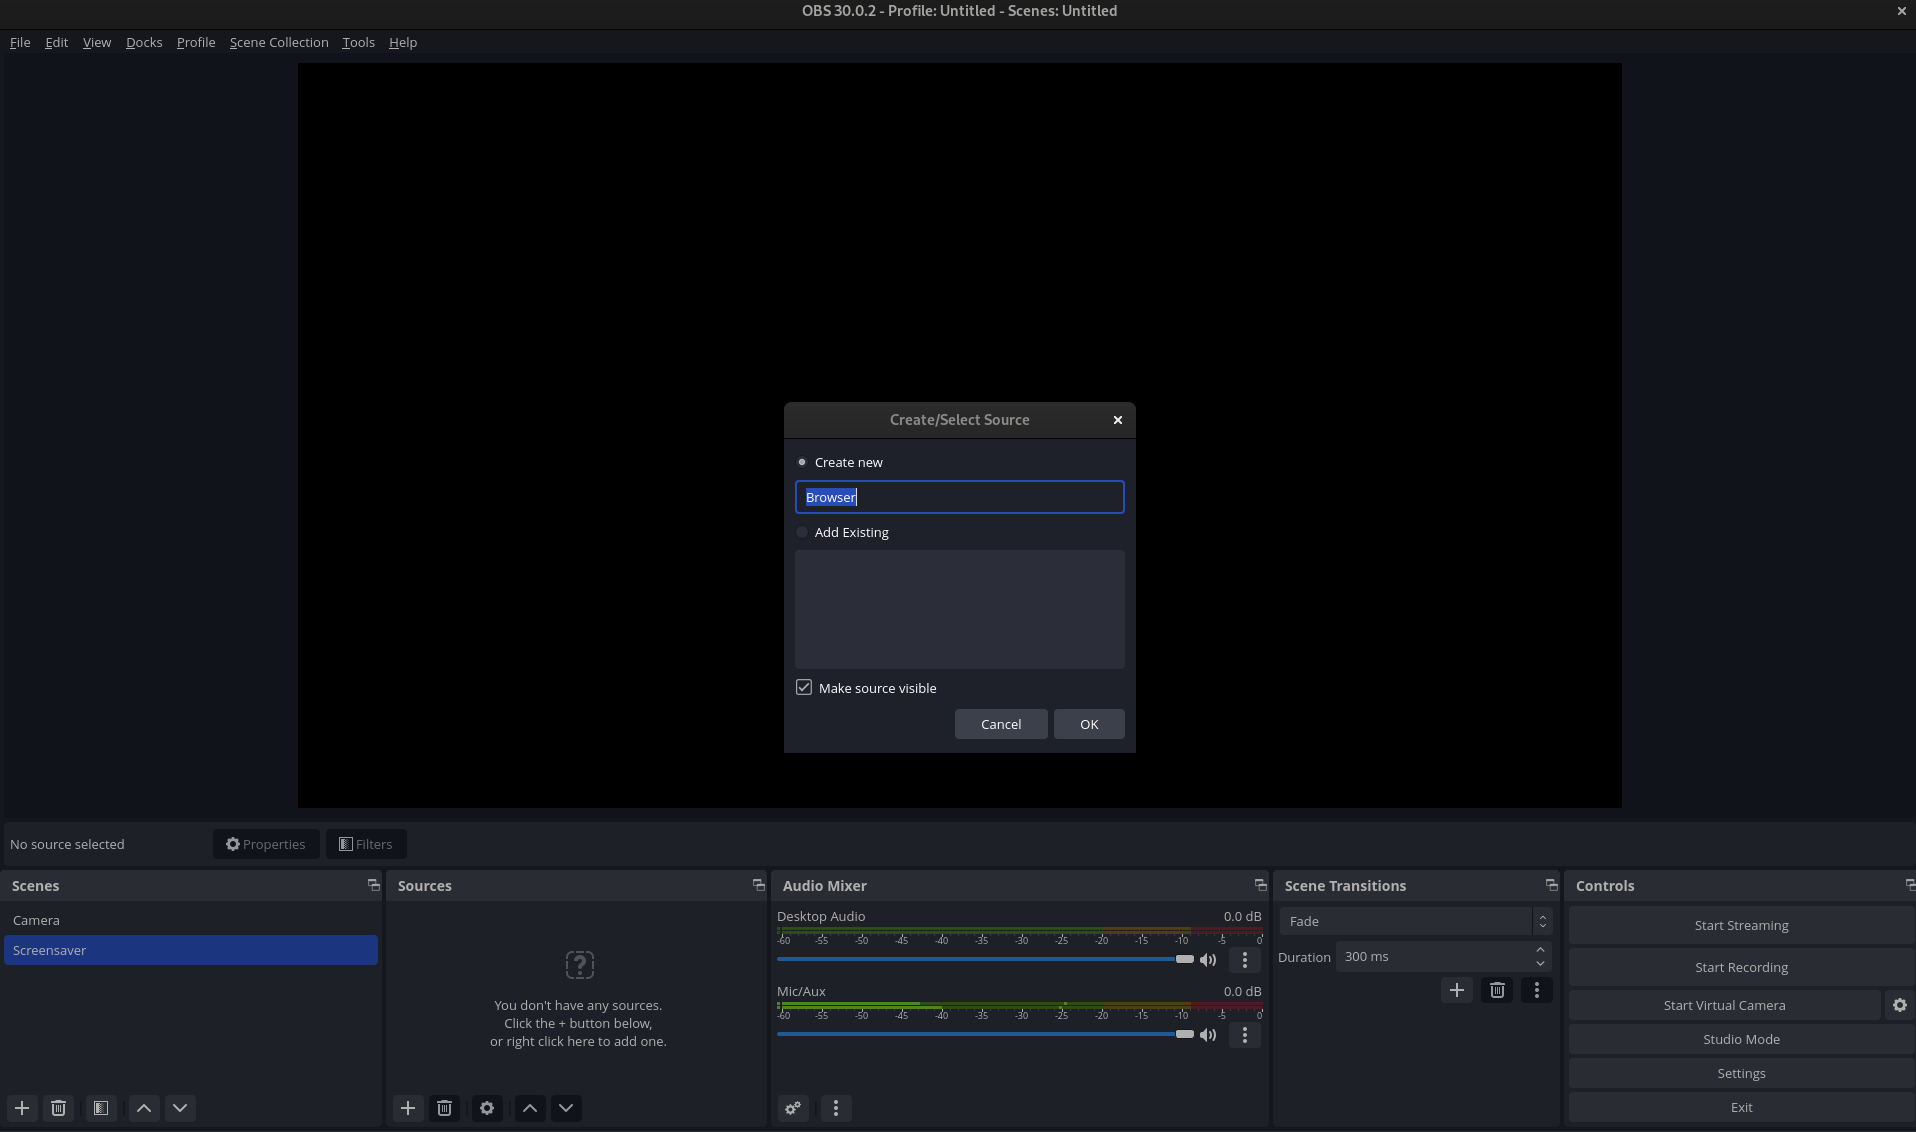
Change the source to your Github Pages URL, and change the resolution to match your camera.
That's it! You're now ready to integrate this into a video call.
Video calling integration
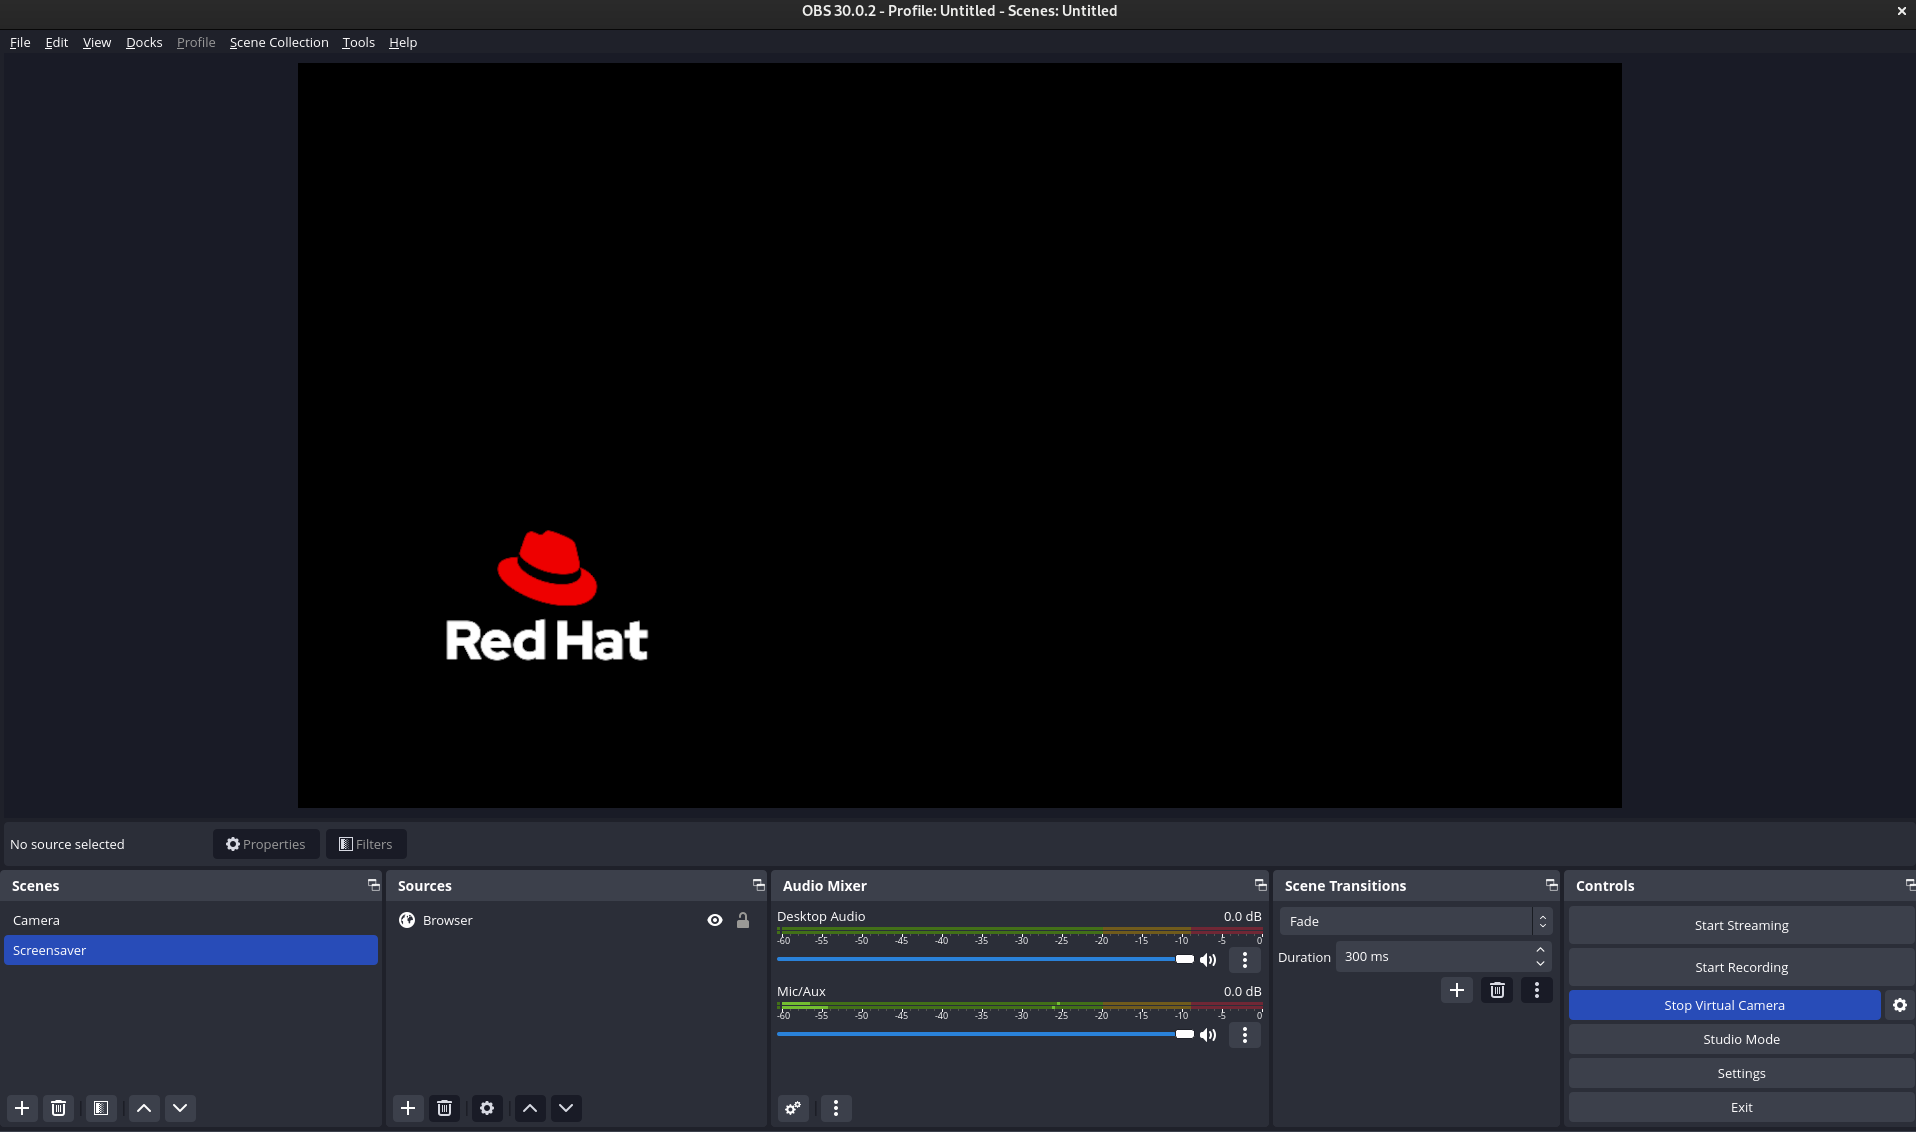
To integrate your new screensaver with a video call you'll need to start the OBS Virtual Camera. You can find this button on the far right under Controls (highlighted below in blue)
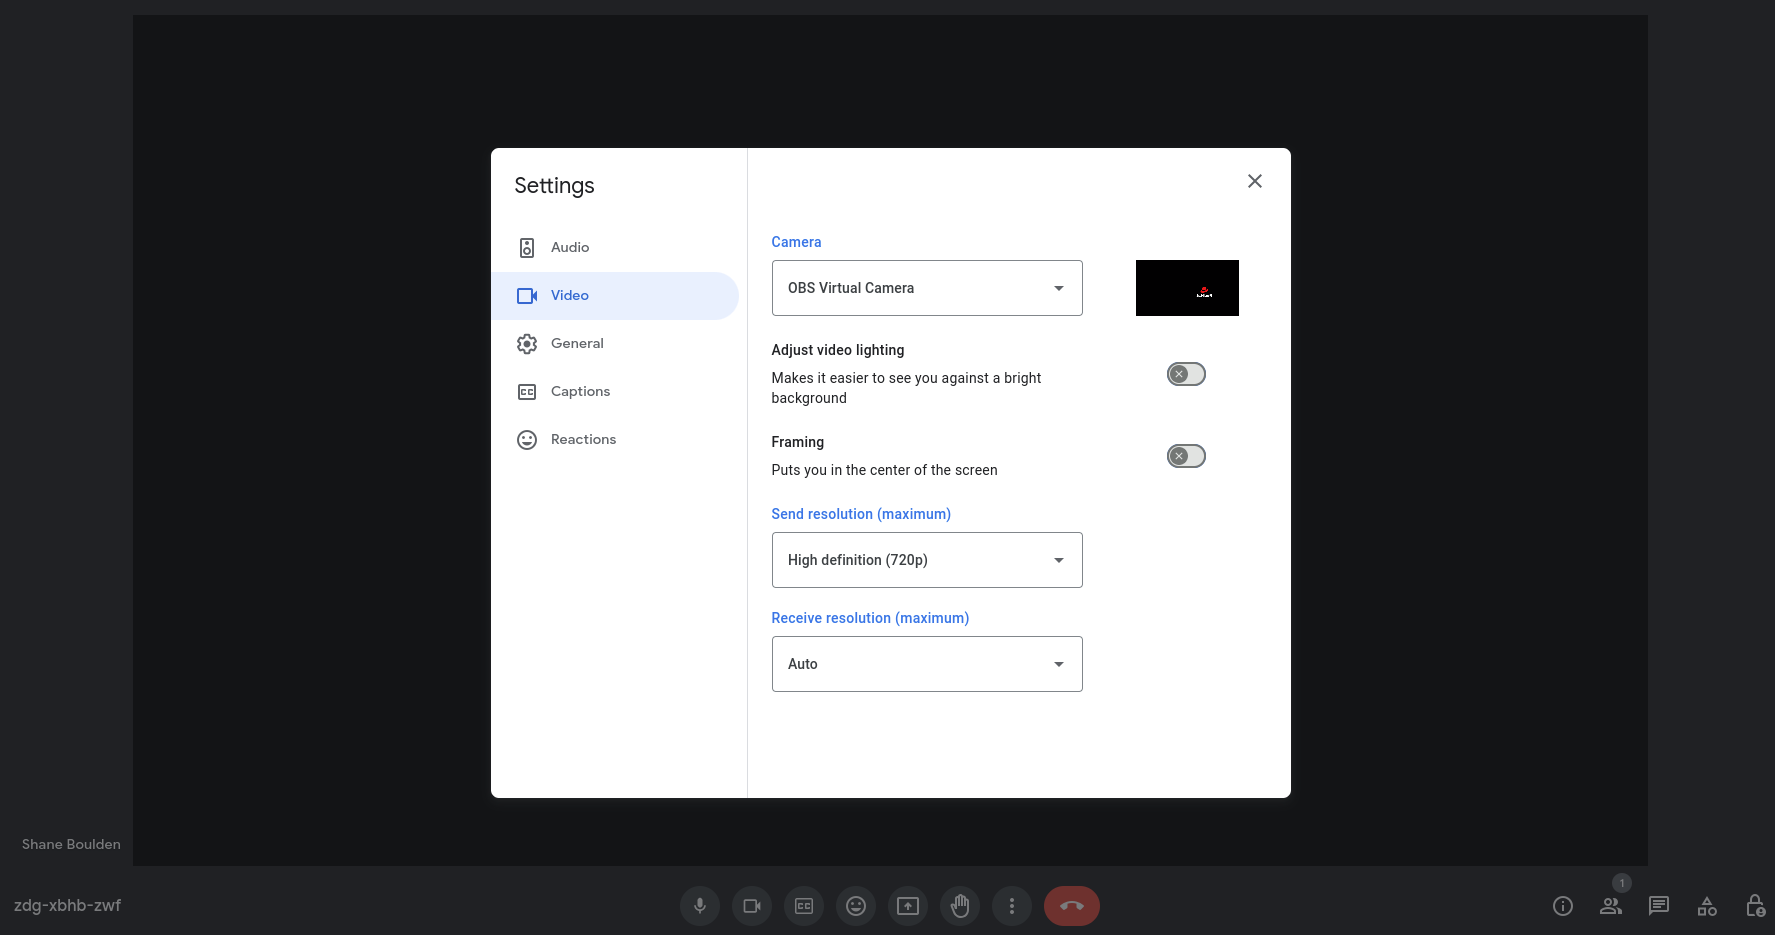
You can now enter a video call and set the video source for the OBS Virtual Camera. In the screenshot below I've shown the settings for Google Meet, and setting the video source.

Now you can switch the scene between the screensaver and your camera. I usually leave OBS open on a separate screen, and switch between the different scenes during a call (Google Meet, Teams, etc).
I hope that you found this tutorial on building a screensaver for your video calls useful. Let me know in the comments how you go building your own, or any other tips you have for using OBS.